


An often-underrated backbone of your home network, your router acts as the gateway for all your most precious data. Yet, just like any other gate, it itself might become an entry point for a cybercriminal, unless properly secured. Leaving your router untouched in its default settings is akin to leaving your front door wide open. This comprehensive guide will guide you through all the necessary steps that you should take to secure your router and protect your digital life.
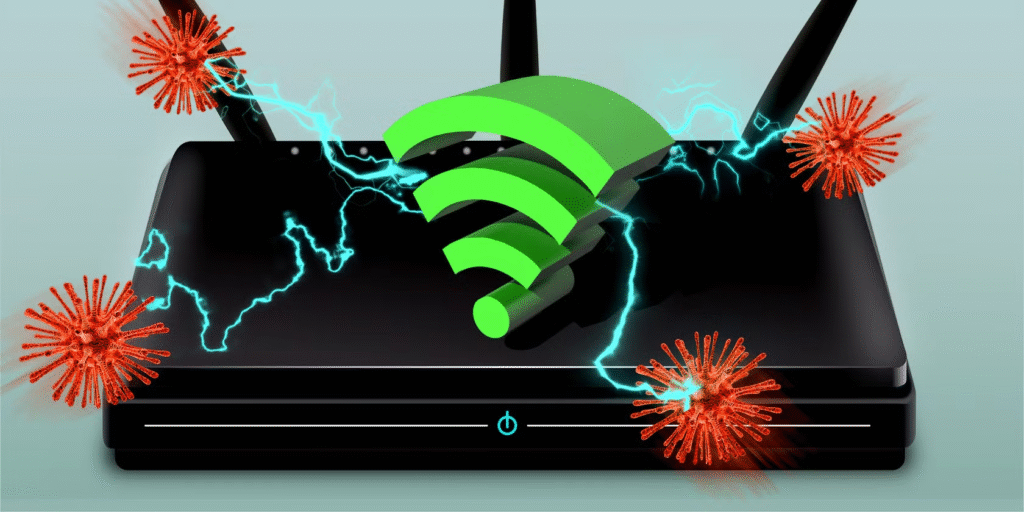
Router Security: The Hidden Risks
Before going to the how-to, it is essential to discuss the why. An unsecured router can create a big mess:
- Unauthorized Access: It enables hackers to enter the network and steal anything, including your personal information, passwords, financial data, and even the history of your browsing.
- Distributed Malware: You can use your compromised router to spread other malware to devices on your network.
- Becoming Part of a Botnet: Your router can then be used in botnets to perform huge-scale attacks without your knowledge.
- Theft of Data: Sensitive files and communications could be intercepted.
- Wi-Fi Snooping: Neighbors or malicious people can surf on your internet, thus slowing down speeds, and might even do something illegal with your IP.
- DNS Hijack: Misdirection of web traffic towards compromised websites designed to steal user credentials-from-their-own.
Ignoring security on your router is a terrible risk in this world of connected everything. So let us take the initiative to secure our digital homes.
Step 1: Change the Default Router Password (The Most Important First Step)
This is undoubtedly the most important step of all. Routers come with default usernames and passwords (often “admin”/”password” or similar), which are publicly known and easily exploited.
How to do this step:
- Find your router IP address: This is normally found on a sticker on the router itself or in your computer’s network settings (gateway address). Common IPs include 192.168.1.1 or 192.168.0.1.
- Open a web browser: Type your router’s IP address into the address bar and press Enter.
- Login: You’ll be prompted for a username and password. If you haven’t changed them, try the default credentials (check your router’s manual or search online for your model’s defaults).
- Navigate to the password/administration settings: The exact location varies by manufacturer, but look for sections like “Administration,” “System,” “Password,” or “Management.”
- Change the password: Choose a robust, unique password that is different from your Wi-Fi password. Use a combination of uppercase and lowercase letters, numbers, and symbols. Avoid personal information like your name or birthday.
Step 2: Updating your Router’s Firmware (Keep it Patched)
Router manufacturers regularly issue firmware updates to fix security holes and bring performance improvement. Updating your firmware is essential so that it can protect against known threats.
Here’s how:

- Log into the admin interface of your router (discussed in Step 1) < br / >
- Then look for a Firmware Update, Software Update, or Upgrade section; either of these are typically found in Administration or System.
- Check for updates on this button on your router interface, which usually comes with an option for checking available updates.
- If updates are found, follow the on-screen instructions to download and install them. Do not interrupt the update process.
Step 3: Rename the Default Network Name (SSID) Moving a bit towards Security.
Changing your name of Wi-Fi network (SSID) doesn’t directly enhance in security. It may make your network less obvious for a casual eavesdropper who snoops on default network names.
How to do this:
- Login to your router’s admin interface.
- Find your way to the “Wireless” or “Wi-Fi” areas.
- Change the “SSID” or “Network Name.” Come up with a name that excludes your personal information.
- Save all your modifications. You will probably have to reconnect your devices using the new network name.
Step 4: If You Conduct Wi-Fi Security-Use Strong Passwords and Encryption-Protect Your Wireless Connection
The Wi-Fi password (network key) prohibits others from accessing your wireless network. Encryption protects your data while traversing the Wi-Fi.
Here is how to go about it:
- Log in to the router’s administrative interface.
- Click the Wireless/Wi-Fi security settings.
- Select a good password: In choosing a password, one should consider mixing uppercase and lowercase letters with numbers and symbols, as with the router admin password. Keep it as unique and unattractive as possible.
- Select strong encryption: WPA3 Personal is the strongest method of encryption. If not, WPA2-PSK (AES) would be a second. WEP is weak and outdated so don’t use that.
- Save. Now you’ll need to change the Wi-Fi password on all devices connected.
Step 5: Enabling the Network Firewall (Your First Line of Defense)
Most routers have a built-in firewall that serves to protect your network from intrusions from the outside internet by blocking unauthorized incoming connections. Make sure that it is enabled.
To do this:
- Log in to the router’s admin interface.
- Search for the Firewall section (usually under Security).
- Make sure the firewall is enabled. There might be different security options; the default setting should suffice for home use.
- Save your settings.
Step 6: WPS (Wi-Fi Protected Setup) should be disabled (potential vulnerability).
This feature was designed to facilitate the connection of the devices to the Wi-Fi network, usually by means of a PIN entered into the device or button press. But WPS PIN security has come under scrutiny and has been proved susceptible to brute-force.
How to do it:
- Admin interface login to the router.
- Search out the WPS section (it is often in Wireless settings).
- WPS is to be disabled.
- Save changes. New devices are connected now using the Wi-Fi password.
Step 7: Disable Remote Management to Limit Outside Access
Remote management allows access to router settings from outside the home network. Unless you have a specific need for this feature, we recommend disabling it to thwart any remote attacks.
How To:
- Login to the router’s admin interface.
- Search for Remote Management, Remote Access, or Administration sections.
- Disable remote management.
- Save changes.
Step 8: Put MAC Address Filtering into Consideration (Limited Security Layer)
In the MAC address filtering scheme, the physical MAC address of the devices is used to allow or restrict users from the Wi-Fi network. Even though this adds a very minor layer of security, it is directly opposite to being effective since MAC addresses can easily be spoofed.
The entire procedure of MAC filtering for a router:
- Log into your router.
- In the admin mode, enter the “MAC Filtering” or “Access Control” option (usually under “Wireless”).
- Enable MAC Filtering.
- Add MAC addresses of your trusted devices to the whitelist. The MAC address of the device is usually found under the network settings.
- Save the configuration.
Step 9: Enable Guest Network (Isolate Guest Devices)
Enable the guest network if you frequently find guests requiring internet access. This creates a separate Wi-Fi network with its own password, keeping guests from accessing your main network and its connected devices.
How to do it:
- Log in to the router administrator’s window.
- Look for “Guest Network” (usually under Wireless).
- Turn on the Guest Network.
- Set the Guest Network name (SSID) and password.
- Make any other changes to the Guest Network settings (e.g., access restriction).
- Save your work!
Step 10: Regularly Review Your Router Settings: Stay Vigilant

Make it a point to log jointly with the administration interfaces of your router and check your security settings at regular intervals. Confirm whether your passwords still maintain strength; check for updated firmware, and whether there are devices you don’t know about connected into your network.
Conclusion
Securing your router may seem overwhelming, but by adhering to these measures, you can greatly diminish the chances of being a victim of cyberattacks. Having an understanding of the router as an ongoing security process is very important. Thus, keep a watchful eye, update firmware, and inspect settings as needed to keep your home network as a safe and secure haven for any digital activity. Control your network security today to enjoy a safer online experience!
You nailed it—leaving your router untouched is like leaving the front door unlocked. I’d love to see more awareness around features like guest networks too, which can help isolate devices and improve security.
You nailed it on the importance of changing default passwords. I also encourage friends to regularly check which devices are connected to their network—it can be eye-opening!
Great reminder that the router is often the weakest link in home cybersecurity. I’d add that disabling remote management and UPnP can also go a long way in locking things down.