


It can be really frustrating to burn your Nvidia RTX 5090 GPU accidentally. But you do not have to panic. A lot of users do errors during installation or overclocking which can lead to damaging the high-end graphics cards. Luckily, if you follow the right steps, then replacement of a burnt RTX 5090 is possible. This guide will be telling how to do it safely so that the GPU is replaced and future issues are avoided.
Why the RTX 5090 Burns and User Mistakes
The major factor influencing the burning of the RTX 5090 is the overheating of the GPU. Cooling system failure or bad thermal pasta application are examples of this. In addition to the mentioned reasons, very high temperatures can also occur if overclocking is done without proper voltage control. Also, dust accumulation in the cooling fans and heatsinks limits airflow and causes increased temperatures, for this reason, the common mistakes should be known in order not to repeat them. Always verify the power supply and cooling configuration of your system before the installation of a high-end GPU.
Signs That Your RTX 5090 Is Not Working
There might be various signs suggesting that your RTX 5090 is burnt out. The first one is that your computer might not start at all or there might be a black screen. Another thing is if there is smoke or smell similar to that of burning coming from the GPU area; this is a clear sign of hardware damage. Moreover, artifacts or flickering of the screen during gaming may indicate a partial GPU failure. It is advisable to timely discovery of these signs so that quick actions can be taken and the damage to your system minimized.
Step 1: Power Down and Unplug the Burnt GPU
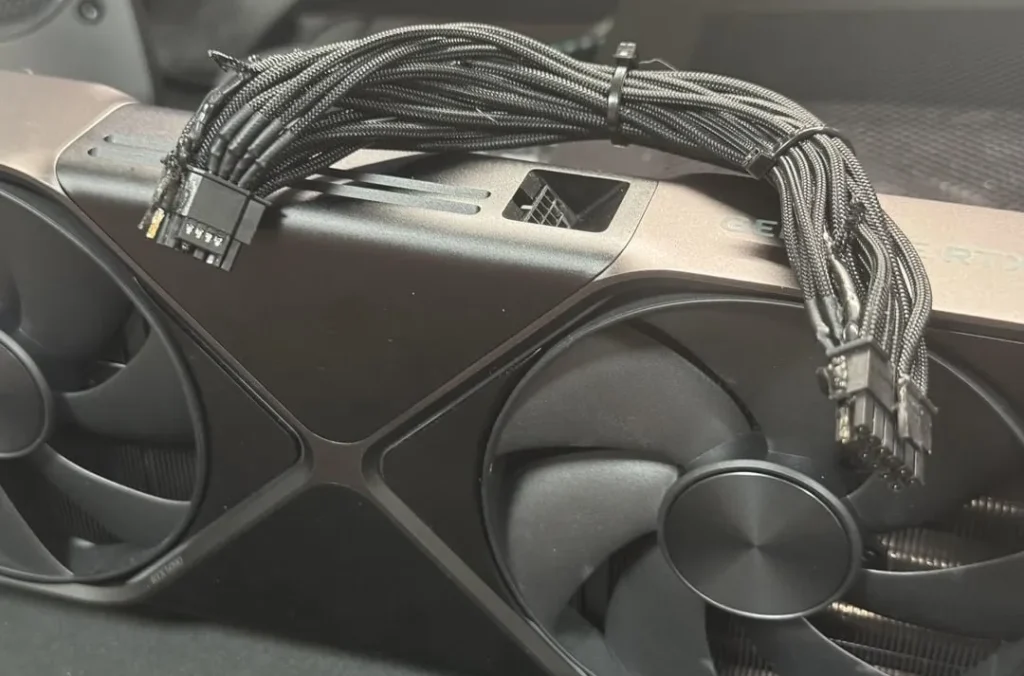
In any scenario, removing the graphics card is highly inadvisable when the desktop computer is still plugged and switched on. Then, make sure to ground yourself to prevent components from getting damaged by static electricity. To start with, carefully remove the screws that hold the PCIe slot and then gradually pull out the burnt RTX 5090 from the motherboard. After that, inspect the area around the GPU for any damaged parts or melted connectors. Carrying out this entire process will make certain that your new GPU can get installed without any difficulties.
Step 2: Pick a New GPU
A faulty RTX 5090 is able to be exchanged for a GPU which is still under warranty. If your finances permit, you can go for one that is of the same model, or even older Nvidia ones. On the other hand, you may consider cards that are equipped with quieter cooling systems or with factory overclocking and thus, you will not have to face the same issues ever again. The best-rated models from the well-known brands come with longer warranties and hence, provide peace of mind that is especially valuable during the hardware failure circumstance.
Step 3: Install the New GPU

First of all, it is necessary to cautiously and appropriately put the latest GPU in the PCIe slot and also ensure that it is perfectly aligned with the motherboard connector. After setting it in place, fix the GPU by means of screws and join the power cables. After the installation is done, check the airflow and cooling arrangements once again. Then, switch on your PC and upgrade the graphic drivers for proper functioning. If the installation goes correctly, you will have a high-performance GPU with no overheating problems asking to recur.
Step 4: Prevent Future GPU Burnouts
To prevent the burning of your fresh RTX 5090, do not neglect your PC cleaning schedule. Apply top-notch thermal paste and check if the fans and radiators are working properly. Moreover, if you don’t have professional cooling solutions, avoid extreme overclocking. The use of monitoring software for GPU temperature will also help to catch the problem areas before they turn into serious ones. These safeguards are very effective in prolonging your GPU’s life.
Final Verdict
The process of replacing burnt Nvidia RTX 5090 is easy if you just take the necessary precautions. The key factors to prevent the reiteration of mistakes are understanding the causes, identifying the signs, and carrying out the installation properly. Always give priority to cooling, power management, and installation with great care. The performance of your system can be restored and you can be back to high-end gaming with the right approach.
“Insightful and practical! I liked how the article highlights both what went wrong and how to fix it properly. Great resource for gamers and tech enthusiasts.”
Very informative read. I appreciate how the article explains the common mistakes and how to safely replace the GPU afterward. Really useful for PC builders like me!
Great article! The step-by-step guidance on what to do after an RTX 5090 burns out was incredibly helpful. Clear, practical, and easy to follow.